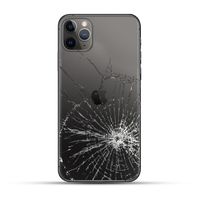
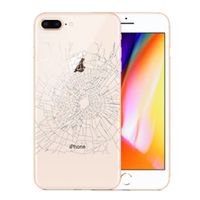
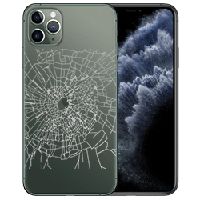
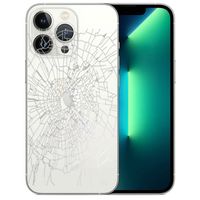
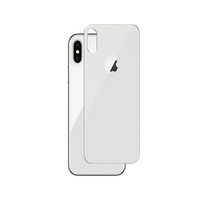
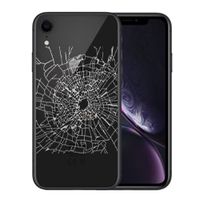
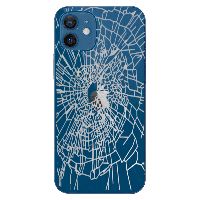
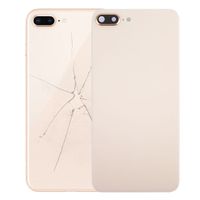
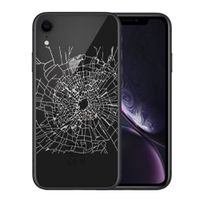
Iphone XR Back Glass Replacement
₵ 70.0
Replacing the back glass of an iPhone XR is also similar to the process for the iPhone X and iPhone 8 Plus, as they all have glass backs that are adhered to the frame with strong adhesive. Here are the general steps for replacing the back glass on an iPhone XR:
-
Gather the necessary tools: You'll need a replacement back glass panel specifically designed for the iPhone XR, a heat gun or hairdryer, a plastic separation tool, adhesive remover or isopropyl alcohol, and a suction cup to help lift the glass.
-
Power off the phone: Make sure the iPhone XR is powered off before you begin the repair.
-
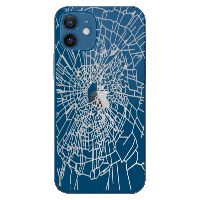
Remove the broken back glass: Use the heat gun or hairdryer to apply gentle heat to the back of the phone. Be cautious not to overheat the phone or apply direct heat to sensitive components. The heat will soften the adhesive, making it easier to remove the glass. Once the adhesive is warmed up, use the plastic separation tool to carefully pry the back glass away from the frame. Work slowly and gently to avoid damaging the phone.
-
Clean the frame: After removing the broken glass, clean any remaining adhesive or debris from the phone's frame using adhesive remover or isopropyl alcohol. Ensure that the frame is free from any residue before proceeding.
-
Apply the new back glass: Remove any protective films or covers from the adhesive side of the replacement back glass. Align the glass with the phone's frame and carefully press it into place, applying even pressure around the edges to ensure a secure bond.
-
Final check: Once the new back glass is in place, double-check that it sits flush with the frame and there are no gaps or uneven areas.
Keep in mind that replacing the back glass yourself can be challenging and may void your warranty or insurance coverage. If you're not confident in doing it yourself, it's best to take your iPhone XR to a professional repair service or an authorized Apple service center. They have the experience and tools necessary to perform the repair safely and effectively.
