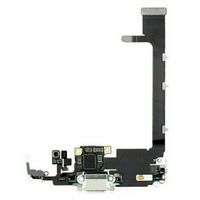
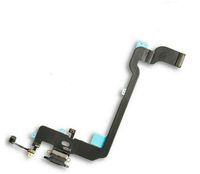
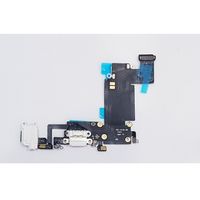
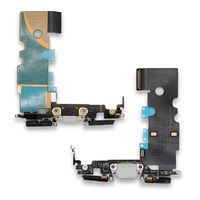
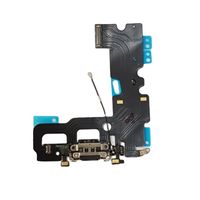
IPhone 6s Charging System Connector replacement
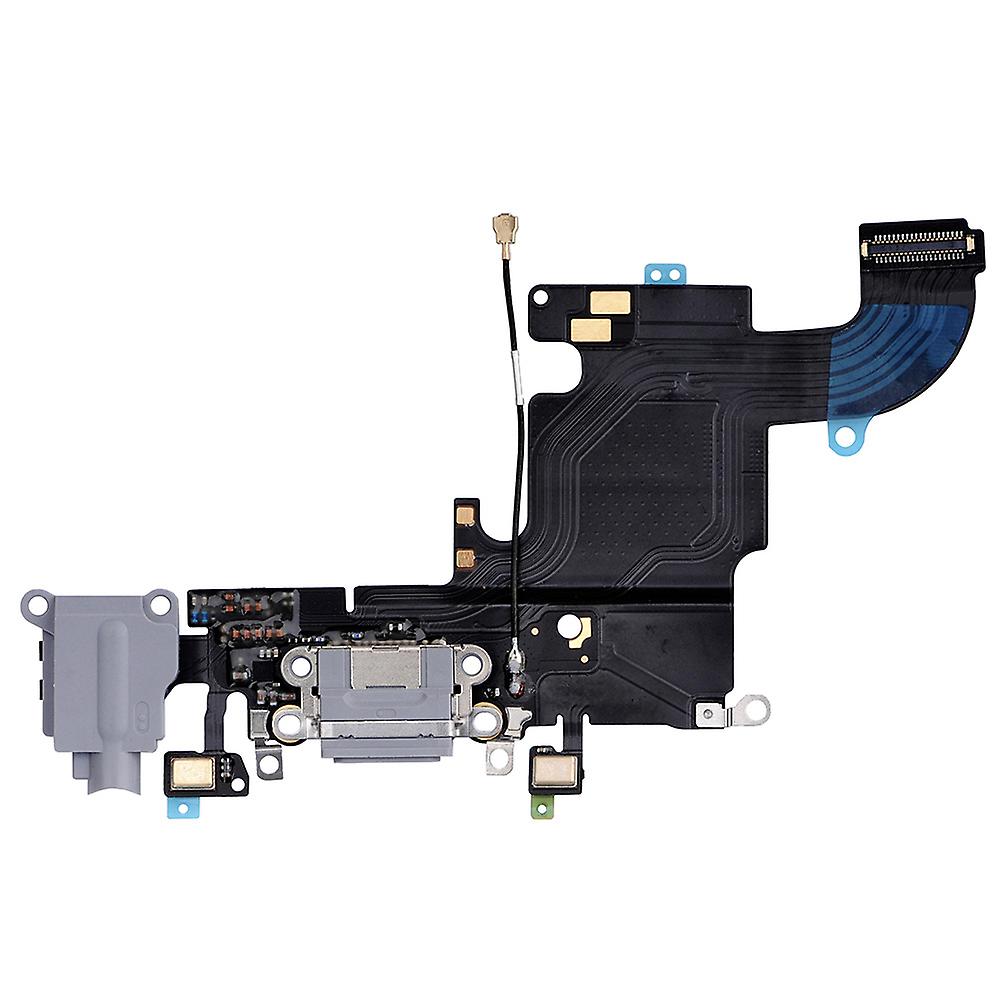
₵ 45.0
Here are the steps on how to replace the charging system connector on an iPhone 6s:
Tools:
- Phillips head screwdriver
- Spudger
- Plastic opening tool
- Replacement charging system connector
- isopropyl alcohol
Steps:
- Remove the screws on the back of the iPhone. There are eight screws in total, two 2.9 mm screws over the headphone jack, one 3.7 mm screw over the headphone jack bracket, two 1.4 mm screws on the edge of the iPhone, two 1.9 mm screws on either side of the Lighting connector, and one 3.0 mm screw to the left of the connector.
- Use the plastic opening tool to pry open the back of the iPhone. Be careful not to damage the internal components.
- Disconnect the battery. There is a small white connector that connects the battery to the logic board. Use the spudger to disconnect this connector.
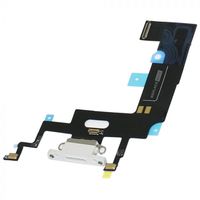
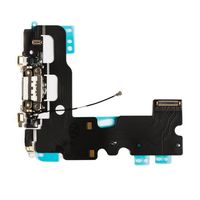
- Remove the charging system connector. There are two screws that hold the charging system connector in place. Remove these screws and then carefully remove the connector.
- Install the new charging system connector. Make sure that the connector is aligned properly before you install it.
- Reconnect the battery. Reconnect the battery to the logic board.
- Close the back of the iPhone. Use the screws that you removed in step 1 to secure the back of the iPhone.
- Test your iPhone. Turn on your iPhone and make sure that it is charging properly.
Here are some additional tips:
- Be careful not to damage the internal components of the iPhone when you are prying open the back.
- If you are not comfortable replacing the charging system connector yourself, you can take your iPhone to a repair shop.
